Painting an airsoft gun can be a great way to break up the shape of the gun and make it less noticeable, but it’s essential to do it properly to ensure that the paint job looks good and blends into your environment. Here are some tips and steps for the best way to camo-paint a gun.
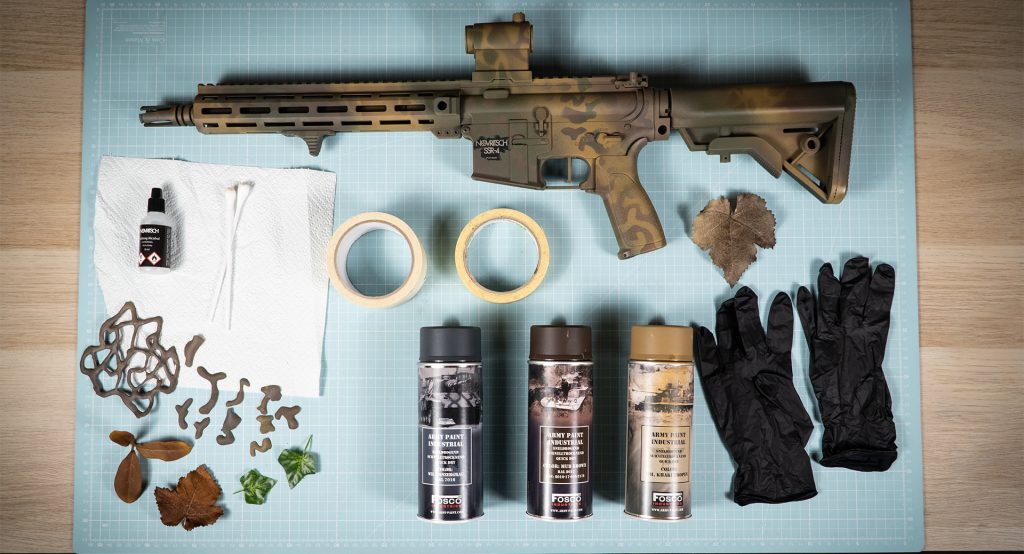
You’ll need this to paint an airsoft gun:
- The replica you want to paint
- Rubbing alcohol/degreaser + cloth
- Painters tape
- Latex gloves
- Camo Spray Paint (quick dry) with mate finish!
- Vegetation, stencils, mesh… (anything that will make a disruptive/camo pattern)
Use this video instructions to better visualize painting steps.
1. Clear your airsoft gun
Start by rendering your gun safe. Ensure no battery is plugged in, as well as no magazine in the weapon system and no BB in the hop-up chamber.
⚠️ Never skip this step, safety is a number one priority!!
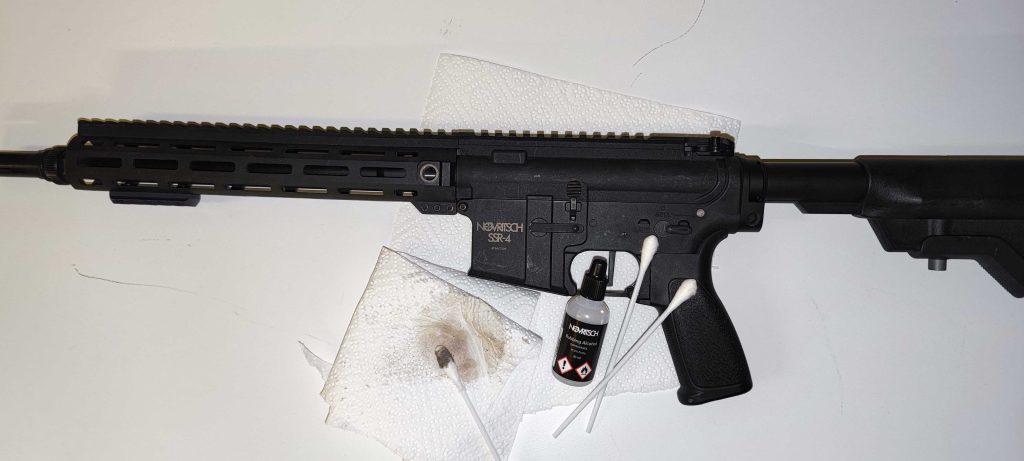
2. Clean your replica
Next, clean the gun thoroughly. Use a degreaser to remove dirt, grime, or oils from the gun’s surface. This will help the paint adhere better. If you don’t have one, you can use rubbing alcohol that can be found in our Maintenance Kit Gen2.
3. Sand the surface
Sand the parts of the gun that could be problematic for the paint to properly stick to with fine-grit sandpaper to create a smooth surface for the paint to adhere to. These parts may include Zinc alloys with paint from the factory on them, etc.
Skip this step if you don’t have prior experience; removing the original paint coat is very easy.
4. Cover the important parts
Use painter’s tape to cover important areas you don’t want the spray to get to. Always tape glass on scopers, red dots, serial numbers, Bolt, and other important parts!
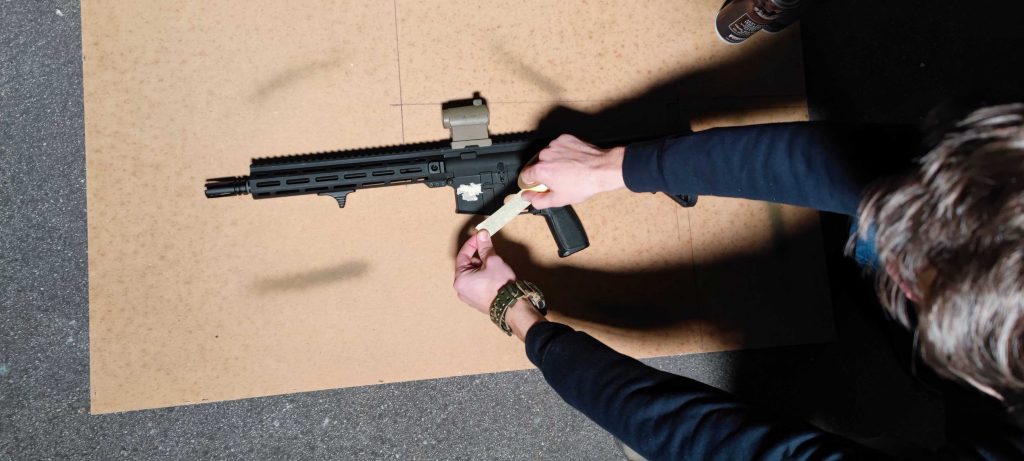
Make sure your serial number and F-mark are protected from the paint!
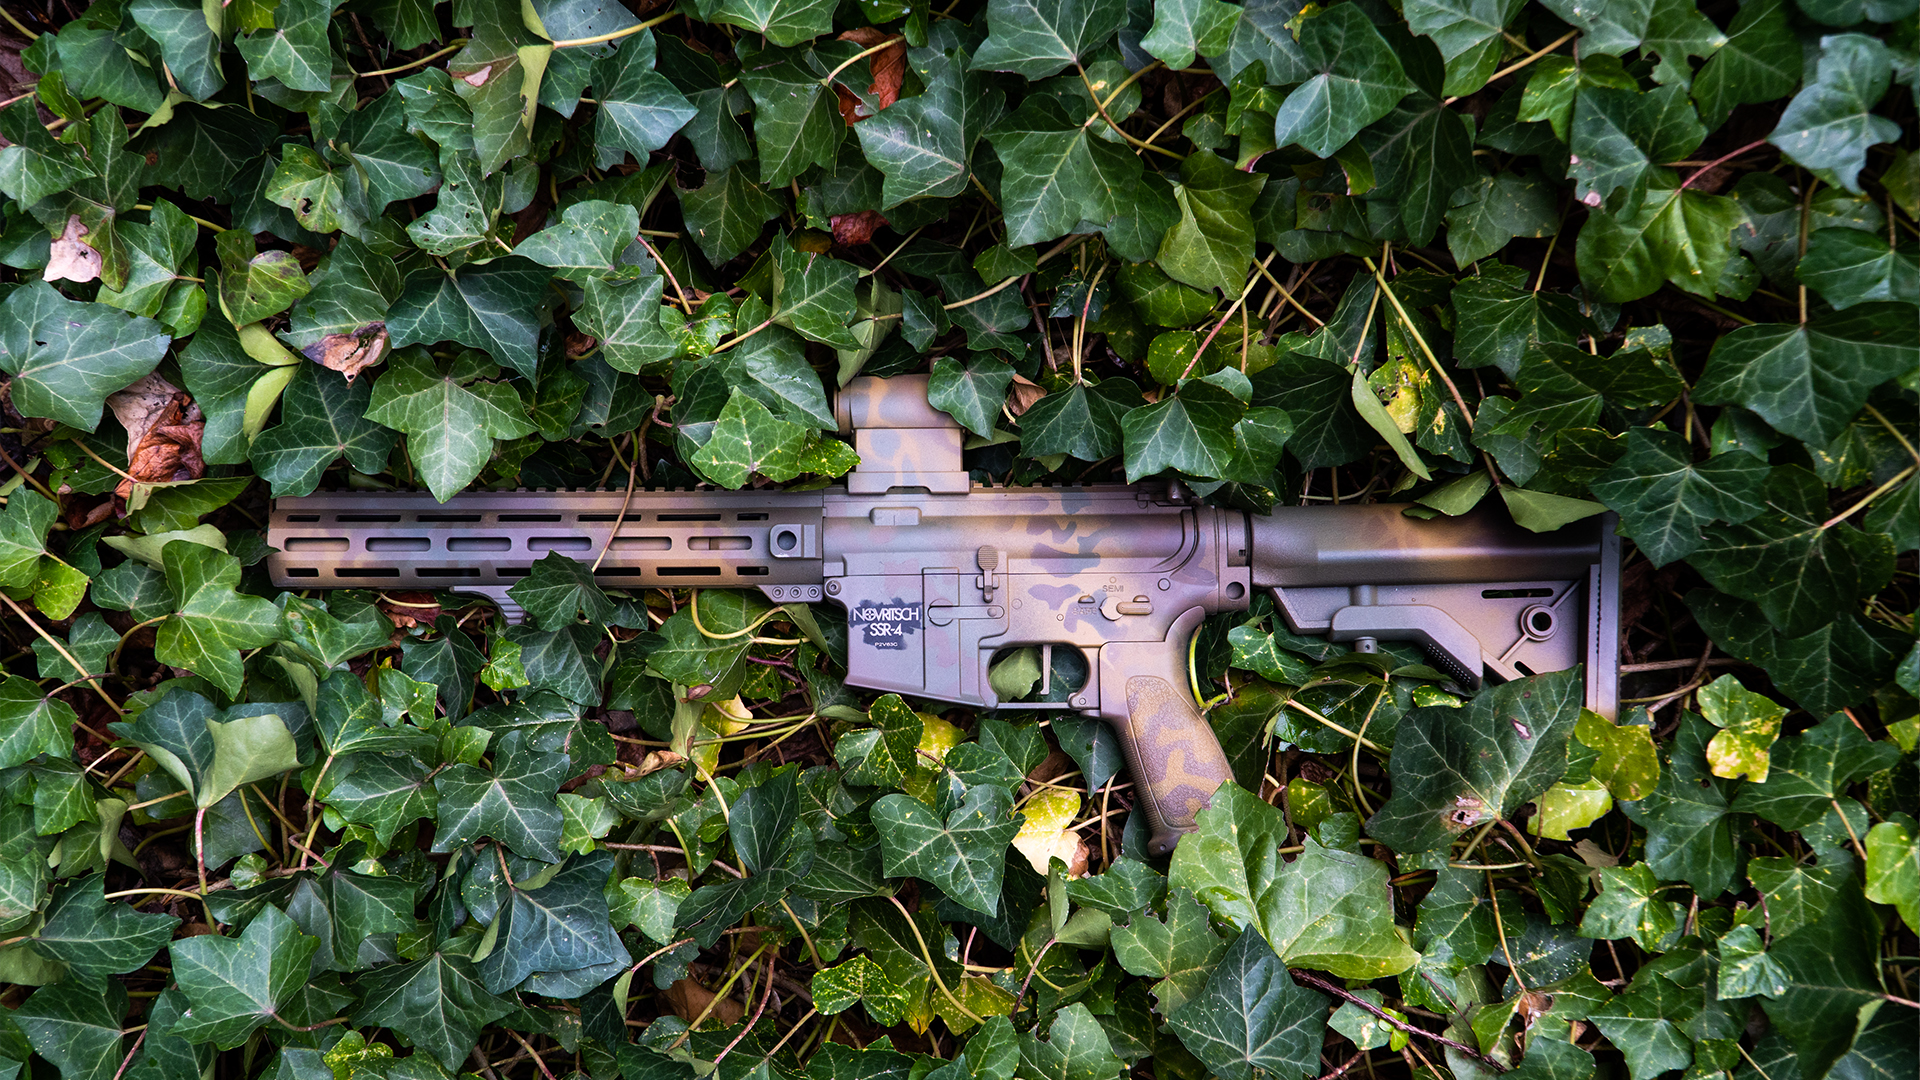
5. Choose your base layer
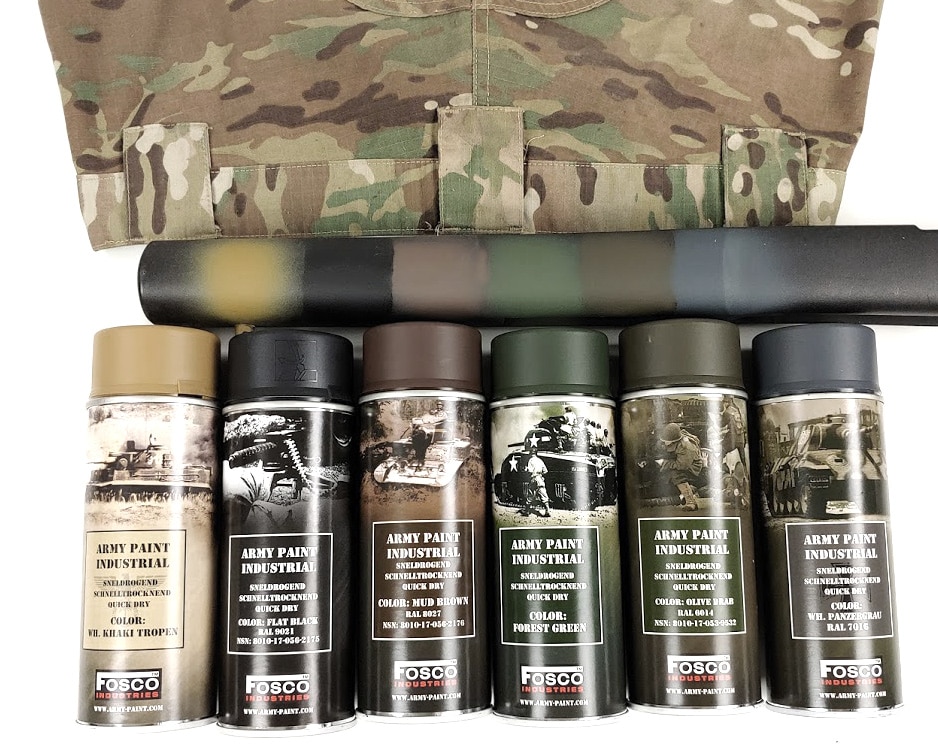
Before starting to paint a gun find an image online to use as a reference. This will help you visualize the end result.
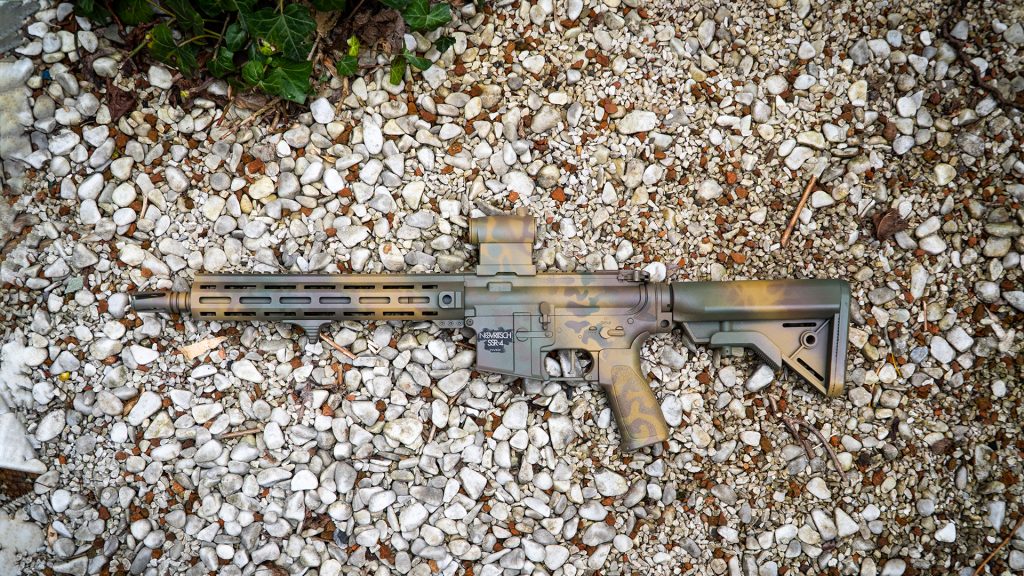
Start by picking colours that closely resemble your area of operation. Use two base colours that are going to create the colour foundation. Go for a paint that’s mate and won’t make a glossy surface which would defeat the purpose of camouflage. If you don’t want to overthink how to get proper paint, get the Spray Paint available at Novritsch.com.
Make sure to get more than just 1 color to create a full camo pattern!

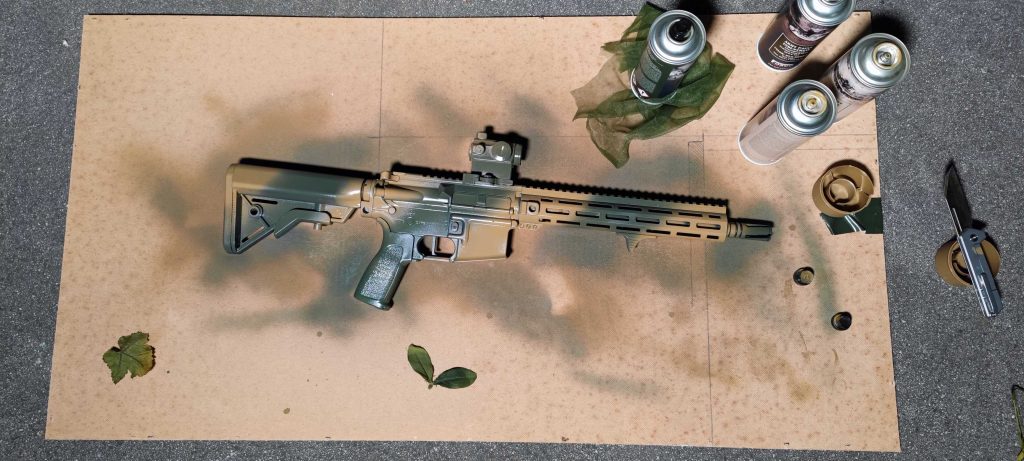
6. Apply your colors of choice
When applying the paint, use thin, even coats and allow each coat to dry fully before applying the next one. This will help prevent drips and ensure a smooth, even finish.
The rule of thumb for letting the paint dry is that the paint will become flat and non-reflective. This will happen in about 15 minutes.
7. Let paint dry on your airsoft gun
Now, wait till the paint dries. You can use this time to prepare a stencil, mesh, or leaves to make the main camouflage pattern.
Put your mesh/stencil over a base paint layer and spray it over; after the paint dries, remove the stencil, and the original layer will appear in the shape of the part covering it.
8. Remove the tape
Let the paint dry for a few hours in a dry area and remove the tape that was covering all the important parts, and your job is done!
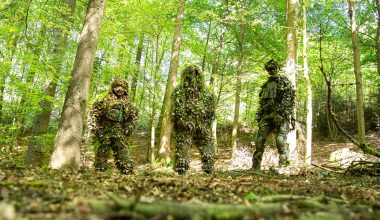
By following these steps, you can paint your airsoft gun in a professional-looking way. That will help you blend into your surroundings and hopefully make your gun look awesome! If you want to camouflage the rest, we have a cool blog post about Ghillie Camo:
Dont mind the scraches that come from normal use, this is completly normal and make your gun look cooler.