In the ninth part of our Starting Airsoft series, we are going to briefly introduce you to the setup we have when making videos. If you’d rather watch a video about making videos though, we’ve summed up all the important parts here:
Starting Airsoft Content
Arguably the most common way people start playing airsoft is by watching YouTube videos. After you’ve played airsoft for a while, you may decide you’d like to record your games. Or you just want to make your own airsoft YouTube channel to entertain and educate your fellow airsofters. It’s actually pretty easy to do!
What Cameras Do You Need?
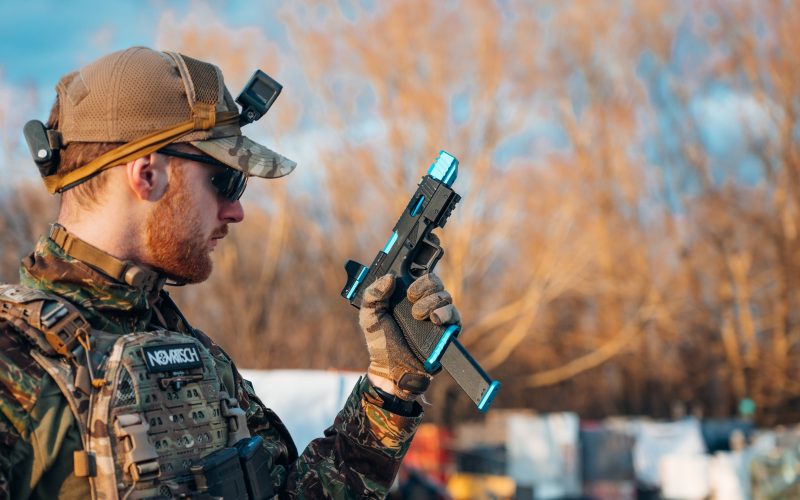
First of all, you’re going to need some cameras. GoPros rule this space as they’re small, lightweight, easy to waterproof (if they’re not out of the box) and are action cameras by design so they can take a beating. You can run as many or as few cameras as you like, each has benefits and downfalls. The more you run means you have more to manage, you’ll get more footage (which is both a good and bad thing) and of course, they’ll cost more.
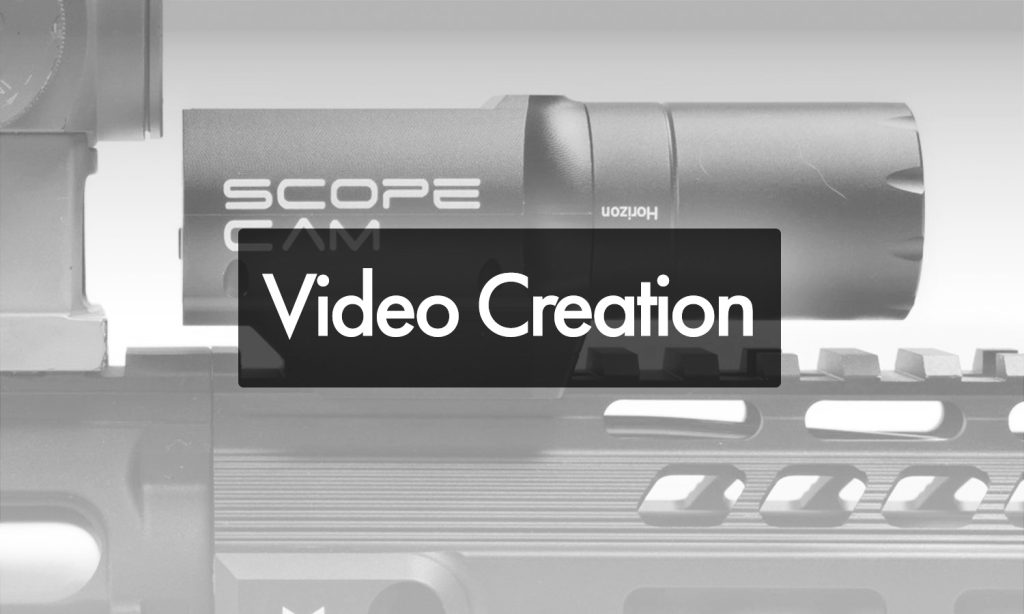
GoPros are great for showing your perspective as a head camera and your expression as a face camera mounted on your gun, but they’re not great at showing where your BBs are going. Instead of these, you’ll want scope or zoom cameras. RunCam is a great option for this alongside Foxeer as their zoom cameras provide great quality footage in a small form factor. Cameras from both of these brands come with Picatinny mounts out of the box so you can quickly, easily and securely attach them to your guns. Foxeer cameras are a fair bit more expensive than RunCam however.
For an ideal starter setup, we’d go with a RunCam ScopeCam (3.6mm for pistols and CQB, 25mm for SMGs and ARs, and 40mm for DMRs and snipers) and an SJCAM which is a great GoPro alternative.
Don’t forget enough power!
Your GoPros eat power and will need either lots of batteries or an external power bank so they can last for the entire day. Between the two, we recommend the power bank option so you don’t have to lug around a load of batteries or keep track of which ones are charged and which ones aren’t. The only downside is you’ll need to mount the power banks nearby. If you don’t want to have a power bank mounted on your gun, you can instead use the RunCam ScopeCam 2 3.6mm as a face cam. This camera, similar to its longer lens counterpart and will last all day without additional power but doesn’t have as wide a view as GoPros do.
You’ll also want to be careful of the GoPros overheating which can happen if you record at high resolutions and framerates for an extended period of time. This is especially so if you have the camera in a protective case where there’s minimal airflow for cooling. To help with this, it’s a good idea to stop and start recording when you’re not in-game or walking back to spawn. This will give the camera a chance to cool down so it can film for longer. Despite this not being the risk for RunCam ScopeCam 2, you should also turn them off when not playing to ensure they do last all day.
Recording on a budget!
If your budget is limited, you may want to start off with a single camera. In this case, you have two options. One is to buy a headcam and the other is to buy a scope cam. The headcam will allow you to watch your gameplays and review your own playstyle which is great for trying to make improvements to your game. Whereas if you get a scope cam, you can see which shots you hit and which ones you missed (you’ll be surprised on both of these).

Single-camera gameplay videos aren’t impossible, but it can be difficult to create engaging content with just one perspective. That being said, the story is the most important part of any video, so if you can nail that, it doesn’t matter too much how many cameras you have or how good they are.
We have an entire academy dedicated to video making, including editing, setup, etc. Go check it out if you want to get all the possible details!
